Laden vs empty container stacks: reading the difference from above
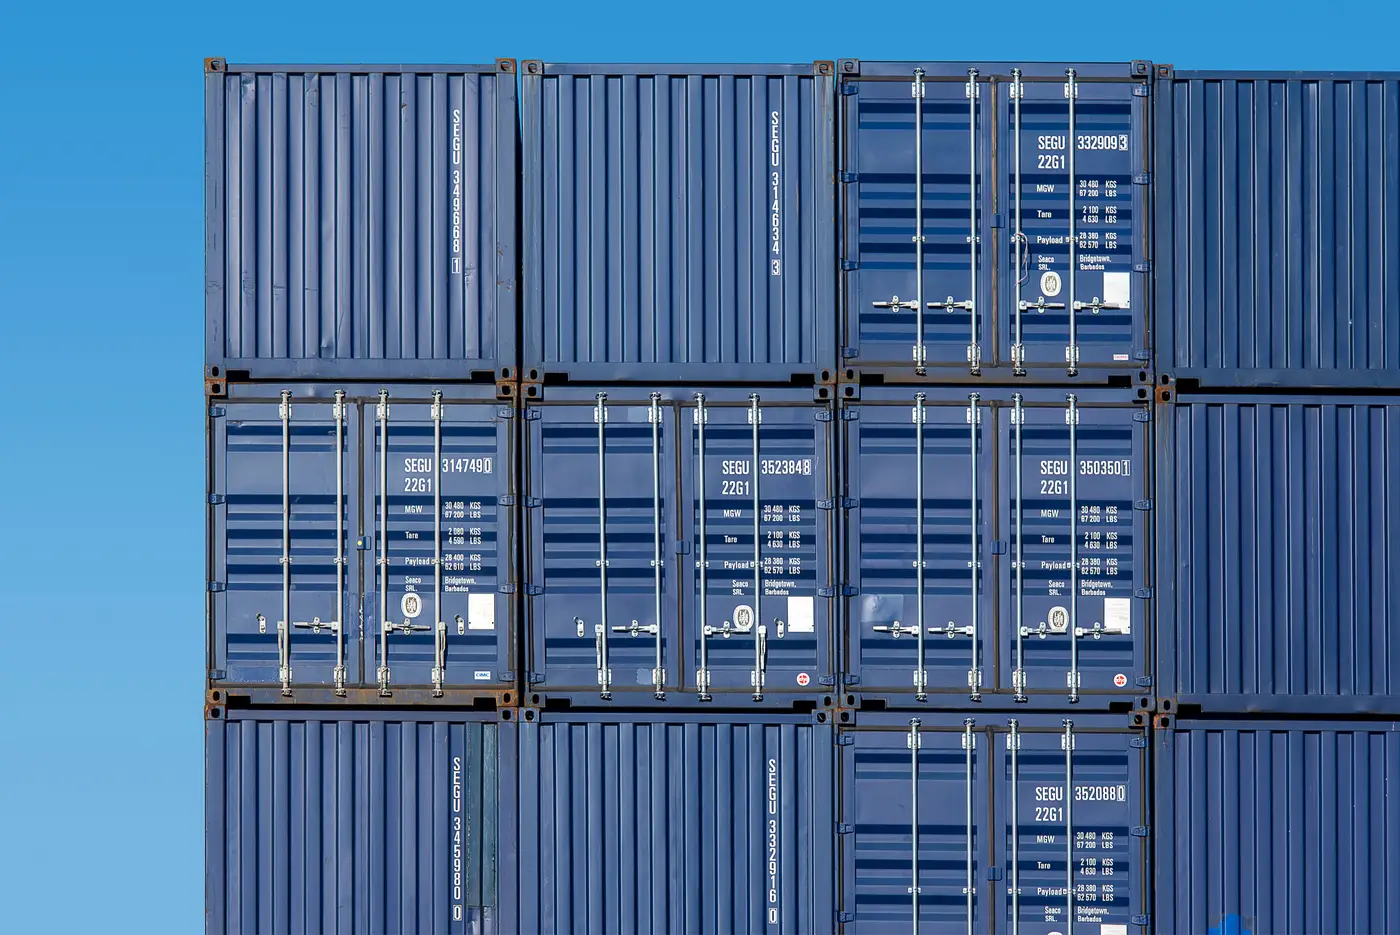
Anyone who has pulled a fresh satellite pass over a yard and tried to eyeball utilisation knows the problem. A block of containers looks like a block of containers. Nothing on the roof of a box tells you whether it's full of furniture or empty and waiting for a reposition order. But the yard itself leaves tells, and once you know where to look, a surprising amount comes off a single clean image.
Stack height and footprint
Empty depots and empty-storage blocks get stacked dense and uniform because weight isn't a constraint. Six-high rows with identical footprints running the full length of a bay are a strong empty signal, especially when the whole block reads that same height with no gaps.
Laden stacks behave differently. Crane reach, ground-bearing limits, and the fact that boxes get picked for loading on a rolling basis mean laden rows are rarely uniform. You'll see three-high next to four-high in the same bay, odd gaps where a box was just pulled, and footprints that don't line up block to block. If a bay reads perfectly even and tall, bet on empty. If it's ragged, bet on laden.
Shadow length as a stand-in for height
This is the part most people skip because it sounds like overkill, but it's the single most useful trick once you've calibrated it for your yard's sun angle. A container's shadow length is a direct function of its height and the sun elevation at capture time, which you can pull from the image metadata. Work out the shadow-to-height ratio for a known reference object in the same scene (a crane leg, a gate building, anything with a known height) and you can back-calculate stack height for any row in the frame. Combine that with the footprint read above and you get a height estimate without ever touching the port's own stacking records. It won't tell you laden from empty on its own, since both can reach similar heights in isolated cases, but paired with uniformity it narrows things down fast.
Reefer rows and plug patterns
Reefer stacks are one of the few spots where imagery gives you something closer to certainty. Powered reefer rows sit in fixed racks with regular plug spacing, and the cable runs and gantry structure feeding them are visible in VHR passes even when the boxes themselves look identical to dry vans. A reefer rack running at or near capacity with visible cable service is almost always laden. Empty reefers get pulled off power and parked elsewhere, usually in less orderly rows away from the plug infrastructure, so an idle-looking reefer area away from the racks is a decent empty flag.
Carrier mix and condition
A block with a tight mix of two or three carrier liveries and generally clean, undamaged-looking tops usually belongs to an active import or export operation. Empty depots tend to pool boxes from a wider spread of carriers and lessors, and the stock sits longer, so you'll see more visible rust streaking, dented corners, and mismatched paint ages in the same frame. The pattern holds often enough across enough blocks to work as a tiebreaker, even though it won't call every block correctly on its own.
None of this replaces an actual count. Reading sun angle and rust patterns gets you a reasonable guess about which blocks are active and which are dead storage, but it's slow, it doesn't scale past a handful of bays, and it falls apart the moment cloud cover or a low sun angle flattens the shadows you were relying on. If what you actually need is a box count per block or bay that updates daily regardless of how the light fell that morning, that's the problem Container Counting is built to solve, run on VHR imagery rather than eyeballed stack rows.
If you're tired of squinting at shadows to guess utilisation, it might be worth seeing what a daily automated count looks like for your own terminal.